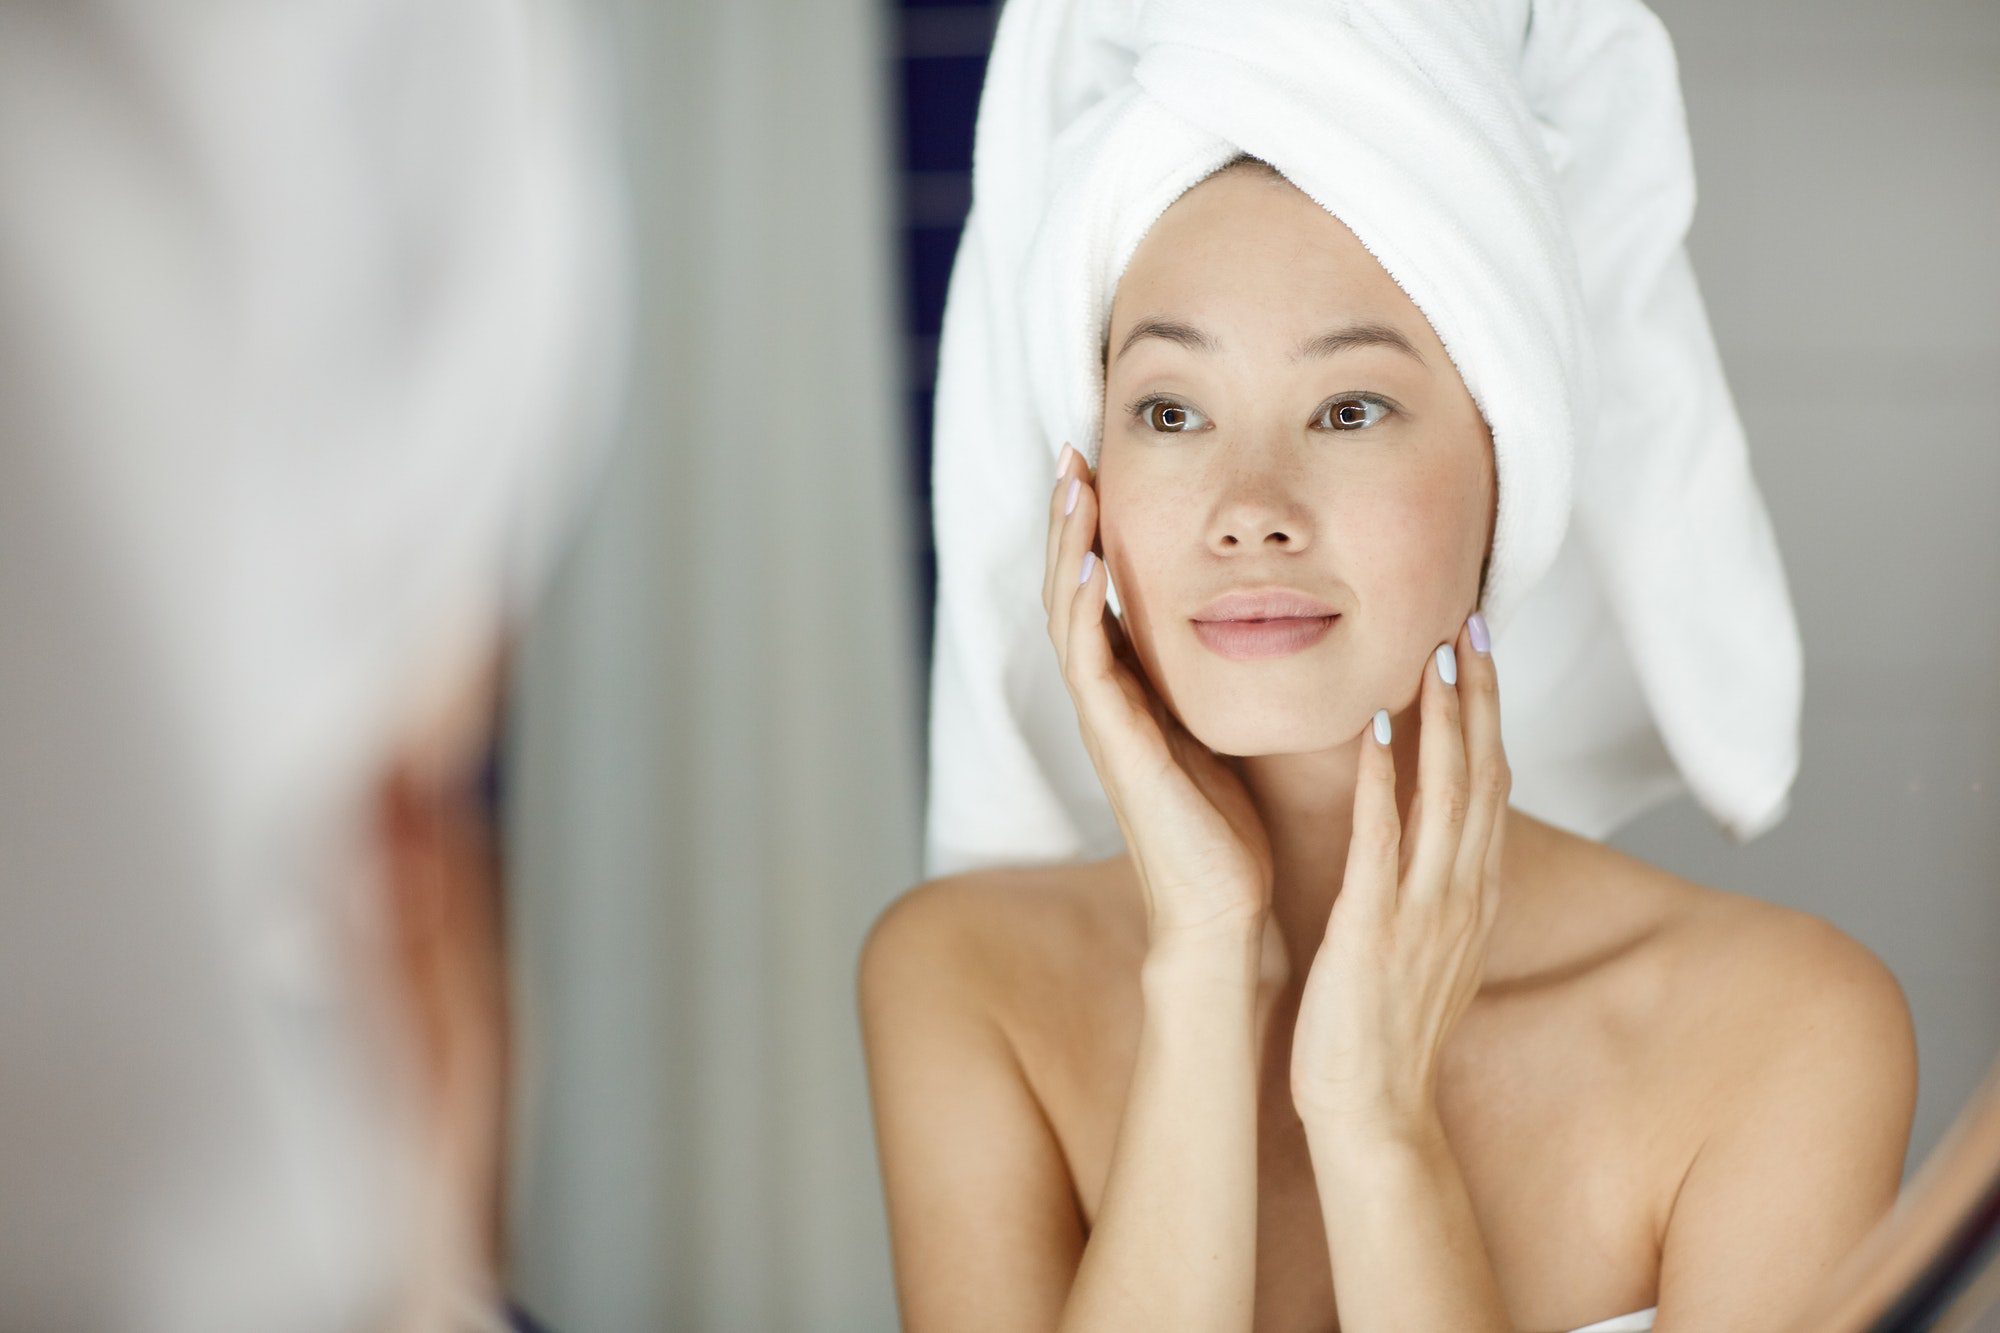
If you ask any beauty expert, the key to a healthy complexion is a perfect balance of moisture and protection. And while your AM skincare routine might be varied with serums and moisturizers, it’s true that the order in which you apply these products can make all the difference in preventing over-drying or clogging of pores. For this reason, it’s important to consider the order in which you layer your AM skincare.
By understanding how each products works, you can create a routine that protects and restores your skin while also giving it a healthy glow. Keep reading for our insider’s guide to layering your morning skincare routine:
Step 1: Cleanse
As far as extensive research has shown, cleansing is an essential part of any skincare routine. Cleansing removes oil, dirt, and dead skin cells from your face and together with toner exfoliates the surface of your pores to allow new cells to grow. It’s also important to keep in mind that cleansers with high foaming properties can remove minute traces of makeup.
This step is best done before your AM skincare step, as it works double duty by removing impurities from the surface of your skin and by gently dissolving any leftover makeup that might have been applied during the night.

Step 2: Toner
After cleansing, your skin is dehydrated and needs to be hydrated. You’re going to want to grab the nearest hydrating product with your trusty cotton pads. Toners work by removing excess cleanser as well as excess sebum and makeup from the pores, leaving behind beneficial ingredients such as soothing aloe vera or anti-aging AHAs.
Step 3: Antioxidants (Vitamin C)
Vitamin C serum has a multitude of benefits for skin health. So, what are some of these benefits? What does it do? How does it work? Vitamin C is a potent antioxidant that brightens and clarifies skin, fights signs of aging, like wrinkles and sun damage.
Step 4: Hyaluronic Serum
Slowly but surely, your skin is starting to look clear and radiant. Serums are designed to work even quicker than a moisturizer, by actively rebuilding layers of damaged cells.

Step 5: Eye Cream/Eye Treatment
Eye creams are formulated to sink deep into the corners of the eyes and overall focus on hydrating and helping to correct the appearance of dark circles and puffiness. If you’re looking for a more intensive eye treatment, opt for an eye mask or eye cream. An eye mask can help reduce puffiness while also soothing and nourishing irritated skin around the eyes.
Step 6: Moisturizer
After cleansing, toning, and applying serums, you might feel like your skin is still feeling a little dry. While this is a slight exaggeration, it’s true that hydrating your skin further with a daily moisturizer is beneficial for overall skin health. For this reason, there’s no need to skip out on your daily moisturizer.
Step 7. Oils
Moisturizing oils are thicker than other facial products, so it’s best to apply them last.
Step 8: Sunscreen
Sunscreen is important for the prevention of hyperpigmentation (the darkening of the skin), freckles, and even premature aging. As you might expect, SPF numbers are based on how much UV protection you can get in an hour. The higher the number, the more protection. So if you’re going to the beach or heading out on a tropical vacation, go ahead and slather yourself in SPF 40+ when you get dressed.

Optional Step: Eye Shadow/Lipstick/Foundation/Blush
In an ideal world, we’d skip this step entirely. We know that eyes make up 60% of your face, so slapping on eye shadow is wasteful. However, if you’re pressed for time and need to apply your makeup quickly, this is the part you can skip. Etcetera, etcetera…
As for lips, look for a lip balm to protect them from the elements while also soothing dry skin around the corners of the mouth. If you want a quick fix, try tinted lip balms that only have one color in them so it’s not so overwhelming.


